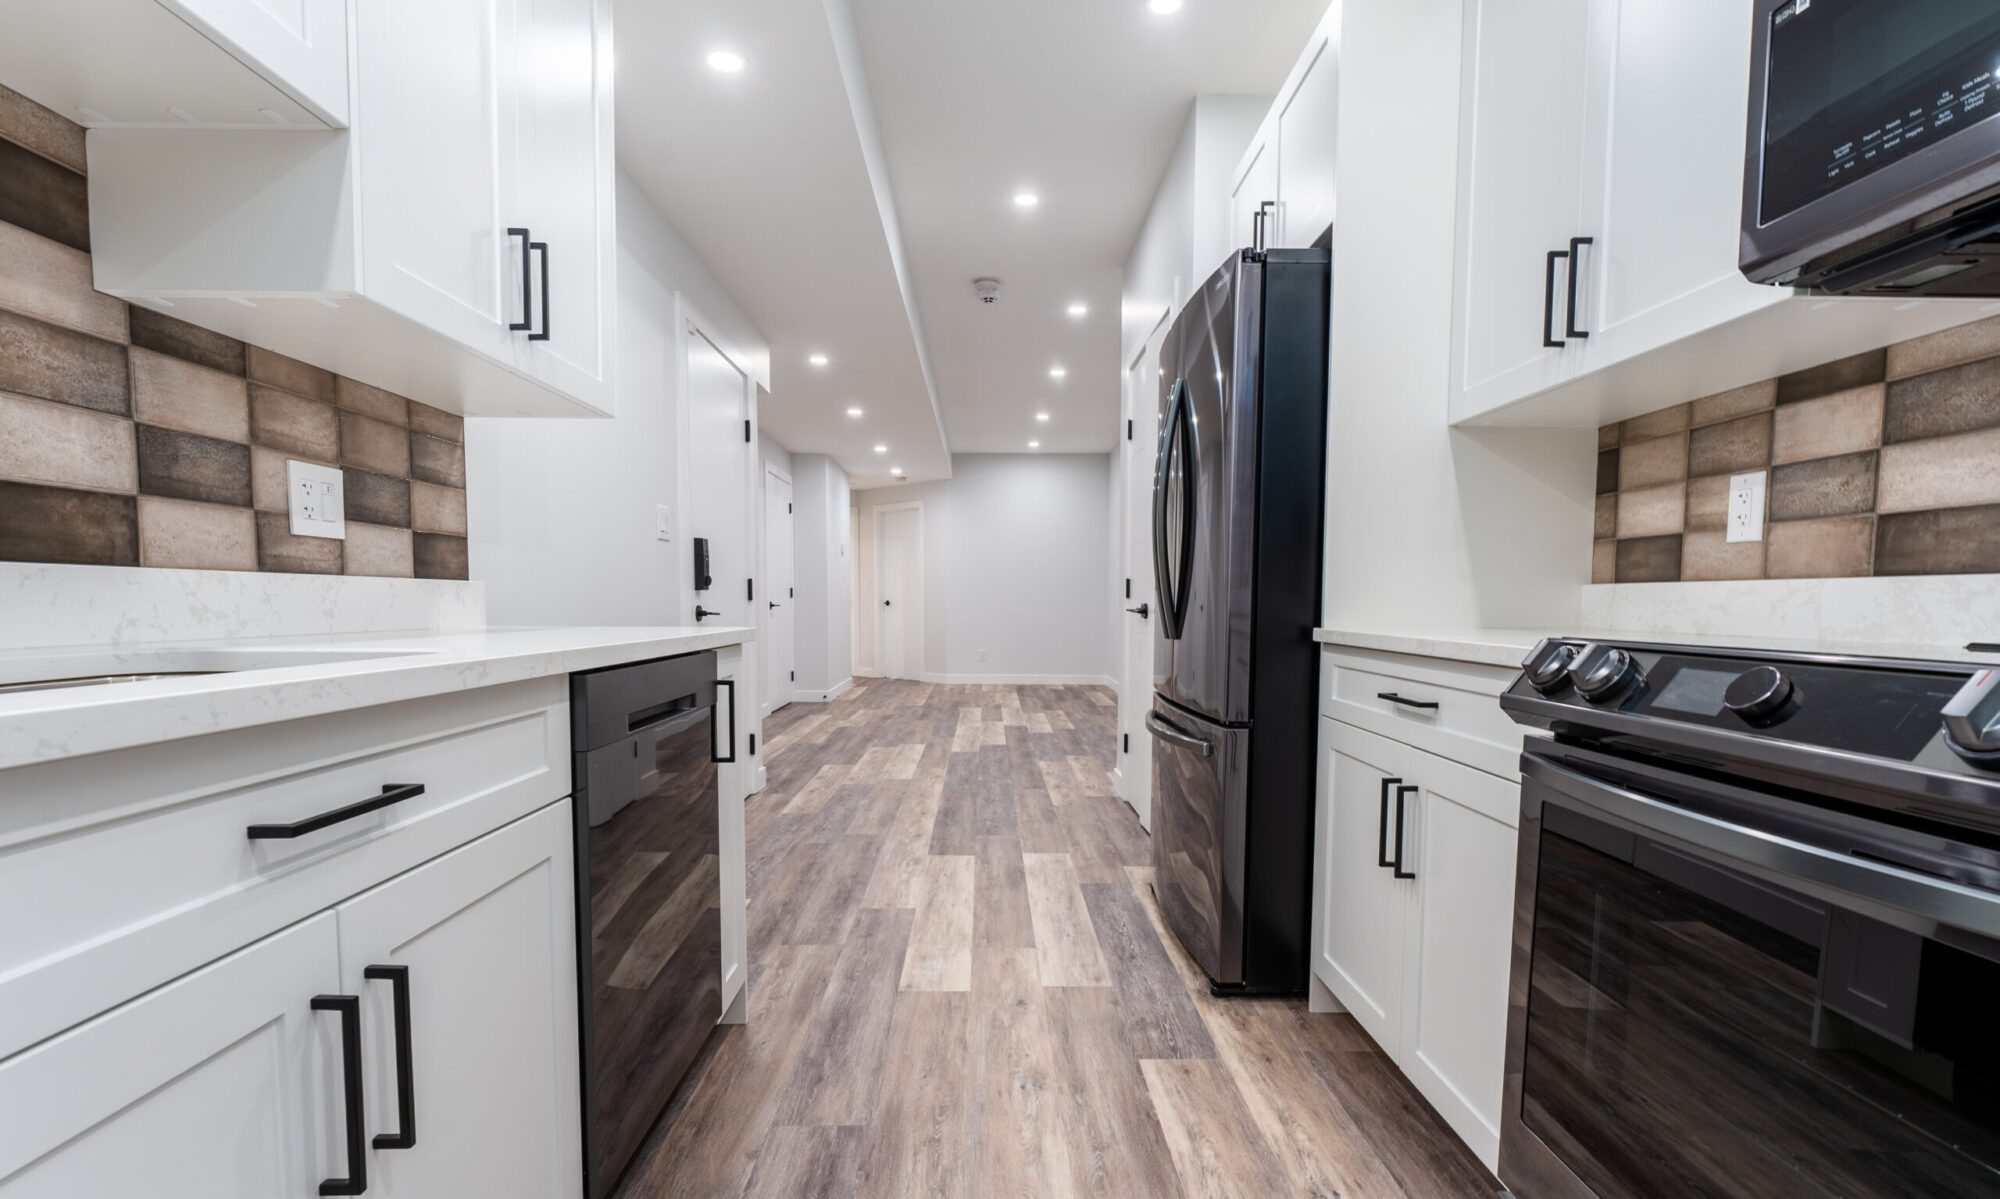
Saskatoon basement development cost?

Saskatoon basement finishing home renovations Krawchuk Construction Inc

What is the cost to develop a basement in Saskatoon?

Well, that’s kind of a loaded question.  How do we ensure we are comparing apples to apples when dealing with the cost of such a large project like a full basement development? A very good start would be to:

  1. Get a good in house consultation from your contractor. 
  2. Be sure you understand the quote they are providing you, review it with them and be sure to ask them questions.
  3. Be sure the estimate covers what you need completed, is understandable, and is detailed enough so you know exactly what you are receiving, why you are needing it, and how you are going to get it. 

What’s the difference between a $37,000.00 basement and a $40,000.00 basement for the same square foot basement? In my experience the difference in price can be in the quality of craftsmanship, materials being used for the renovation, and the quality of the selections/allowances you are offered. 

Basement developments are large projects; therefore one usually talks in the  “thousands not hundreds” when providing budgeting for a general development allowance. In other words, there can be big savings when it comes to client selections. For example, I would always give a client a healthy allowance to purchase high quality flooring, custom millwork, and most definitely a strong fixture supply for their bathroom during their project selection process. This healthy allowance is provided to you at the beginning estimate stage before we actually sign and start your development.  

When you are dealing with a contractor with an estimate for such a large project, be sure you know what you are getting for the money you are spending. All areas of the development should be completely transparent from the beginning. 

With our basement developments we may not be the low bidding contractor but this is where the trust factor must come into play. Trust me; you will win in the end with Krawchuk Construction as our estimate actually has all the quality materials needed to complete that basement properly from start to finish.

You always win in the end with Krawchuk Construction.

Saskatoon bathroom renovation with that new tub/shower?

The first thing to do is rub a dub that brand new tub!

Once you are ready to start that bathroom renovation project, you will find quickly that it is one of the most complicated areas of the house to renovate. Many different trade areas are involved and the cost can escalate on you. These areas include framing, plumbing, electrical, drywall, flooring, and finishing. Be sure to be on the ball with time frame and process. Once you are ready for your plumbing rough-in, you will need to install your tub or shower. If your project is like most you are going with a ready made tub/shower unit. Here is the kicker: most of the time, once you install these units they are in and they are not coming out, without great expense or damage. The problem that occurs mostly is that the tub or shower unit has a fault or defect, or you accidentally damaged it in some way during the renovation. Now what? You just spent big dollars on a plumbing rough-in and about the same on your tub. What do you do? This unit is the hardest, biggest, most expensive piece in your bathroom and getting it in and out of the house can ultimatly affect the entire finish of your house. First, kick yourself for not checking over the tub in more detail like you planned. Second, call the tub repair man. Yes, it is possible to fix your brand new fibreglass, acrylic or metal tub. Lesson learned: always “rub down your tub” before installation, and definitely don’t rely on the manufacturer’s word before you take it out of the store. It’s unfortunately your problem once you load it onto your truck and leave the store.

If you need help with this repair give us call, we would be happy to help.

Krawchuk Construction Inc.


The joys of soundproofing your Saskatoon basement

It’s way too loud in here !

All families are in need of some quiet time; kids are too loud keeping mom and dad awake, or maybe you are at that stage in your life where the last thing you want is to wake up your one-year old that just fell asleep. “Not a good situation.” How can we help prevent the sound from vibrating throughout homes? Well, interior soundproofing is the answer. What is it? To answer that simple question: it’s an interior insulation that holds little to no R-value (level of protection from outdoor temperatures). It gets installed just like regular exterior batt insulation, except it is installed on your interior walls and floor areas, also creating a fire barrier – which in my mind is an awesome idea. Anything that slows down my house from burring to the ground giving me more time to get out, gets a thumbs up on my end. The long and short of it is that it works, however you need to keep a few things in mind when planning to soundproof your home. 

When it comes to soundproofing there are a few things that can alter the results:

· Joist/stud spacing – fitting the soundproofing as tight as possible to all areas is very important.
· Pipes and vents in your way – anything that is in your way will alter the ability to fit soundproofing in, therefore altering the ability to soundproof properly.
· Heat ducts and fresh air holes allow sound to travel directly from room to room. This cannot be avoided.

On a downside beware of future water leaks because if soundproofing gets wet it soaks up water like a sponge (unless you use water resistant materials). Having a wet sponge inside my wall cavity is not what I want as water plus no air circulation equals mould. Be sure you are aware of what you are doing and trying to achieve in the soundproofing world if you are thinking about adding it to your house.

Its best if you have any questions to contact your local building supplier or contractor.

Here are a few links that might help:

https://www.rockwool.com

https://www.owenscorning.com


DIY paint? 3 things to consider

Painting is easy, right?

Not exactly. While many folks think they can save a few bucks on their renovation project by completing the paint stage themselves, the truth is that paint is the one step in the project that highlights the beauty of all the other work. Here are a few reasons why you should leave it to the pros:

  • There is no mistaking a professional sharp paint line.

Professional painters have been in the industry for years and therefore have years of perfecting their practice. The lines between white surfaces (ceiling, trim) and the coloured walls need to be straight and sharp in order to make the project really sparkle and look professional.

  • The painting stage is much more than just paint on a wall.

The painting stage is much more than just putting colour on the wall. Painters will fill and sand areas requiring touch ups. They fill all nail holes in trim and base and ensure all trim and base are properly caulked to the wall for a seamless look. Doors, base and trim are sprayed rather than rolled to ensure even coverage without unsightly roller marks.

  • It takes a lot longer than you think.

There are usually four stages of paint in the average home improvement project: prime, first coat and trim, final coat, and touch-ups. On average, each of these takes one to two days with three painters hard at work each day. If you are doing it yourself, you will need to prepare for your project end date to be postponed.

Consider Krawchuk Construction Inc. for your Saskatoon and area professional painting needs. We are ready and equipped to make your renovation project shine! Let our team of painters put the finishing touches on your commercial or residential renovation. We hope to hear from you!


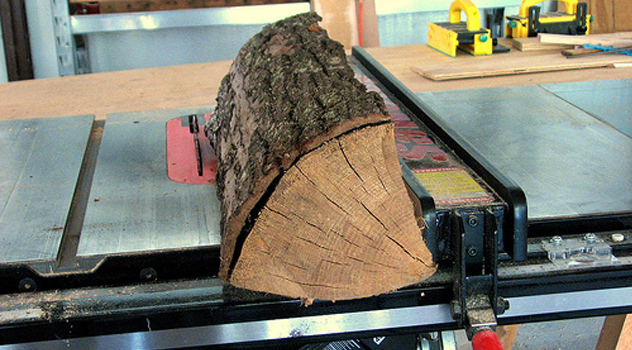
Choosing the right tool for the job.

Taking the time to get the right tool saves time in the end

How many of us have opened a paint can with a flat headed screwdriver, or worse off a chisel? Guilty! Have you ever used a real paint can opener to open a paint can? Yes, it is much more efficient for the paint can and your knuckles. How about using a Leatherman tool to put together a childs toy or tighten a few screws in a loose banister? This is just the beginning of using the right tool for the right job. Whether you believe it or not its a rule that is only out there to make your life easier.

Safety first is a huge consideration when it comes to home projects. Try taping a few of your fingers together for a day to simulate an injured hand. Frustrating, isn’t it? How does it save time if you have to go get the proper tool and stop working on your project? Well, it saves time in the following ways:

1. You had to start a new project because you broke the first one,

2. You broke the tool you were using (the incorrect tool) so now you need to replace that one you broke and take time to get the correct tool.

3. You spent too much time trying to make the wrong tool work like the right one.

4. Of course, you injured yourself so you lost time going to the emergency room.

Trust me on this one folks; as a former Industrial Arts teacher we have many different types of students to troubleshoot many different types of tools in many different situations. Also, as a contractor I find myself in many different situations where certain tools work better than others. It pays off in the pocket book, time sheet and blood pressure to use the right tool for the right job.

Krawchuk Construction Inc